
Mogu'shan Vaults is quite friendly and nice for an elemental shaman to raid. We bring a whole of three raid-wide buffs: spell power, spell haste and mastery, so we make valuable additions to any raid group - even more so, if we know how to best make use of our abilities. Below are some elemental-specific things that I pay attention to in this raid.
The Stone Guard
While one of the quilen in each trash pack goes bananas, bringing the little ones a protection buff against AoE damage, don't be fooled. Chain Lightning continues to damage them as usual, as it's not tied to an area.
Tips: Cast and refresh Flame Shock on both guards that are tanked together. All three of them share their health pool, but you will still get to have two individual dots on, which doesn't only increase your damage as it is, but also gives you more Lava Surge procs. If you wish, you can replace Lightning Bolt with Chain Lightning while damaging the two that are together, but keep in mind that this makes it more challenging to maintain the rest of your DPS rotation: Lightning Shield charges will build up faster and you need to plan your shocking more carefully and with less time to spare. Using Chain Lightning instead of Lightning Bolt is also way more mana costly.
Preferred talents: Both Astral Shift and Stone Bulwark Totem are useful for this fight. It doesn't make any major difference if you go with one over the other. The totem has a shorter cooldown and a lesser effect. In this fight you'll pretty much be DPSing constantly, so for healing, you can practically go with either Healing Tide Totem or Ancestral Guidance. The greater your damage output is, the more efficient Ancestral Guidance is. If handled correctly, people should barely take damage from overloads, so I would rather go with Ancestral Guidance, as there shouldn't really be need for raid-wide healing, but rather specific.
Feng the Accursed
Tips: Spiritwalker's Grace allows you to keep your usual DPS rotation up while having to move in phases two and three. Astral Shift is very useful when Arcane Resonance prevents you from stacking on the boss during Arcane Velocity.
Preferred talents: While both specific and raid-wide damage is involved in this fight, the raid-wide damage is much more powerful. Therefore I recommend using Healing Tide Totem for this encounter. If your tanks don't manage to interrupt Epicenter in the first phase, and the protective shield is on cooldown, Healing Tide Totem comes in extremely handy, letting healers save their major cooldowns for later. Epicenter makes you miss a lot, due to which Ancestral Guidance wouldn't be of much use at all.
In the second phase your raid may also be dealing with high raid-wide damage from the stacks that Feng's Draw Flame ability gives him. Although you can continue casting while moving using Spiritwalker's Grace, and therefore get the full benefit of Ancestral Guidance, Healing Tide Totem still makes for a more powerful heal for all raid members. As the last phase is mostly about coordination, having to deal with necessary damage isn't so essential.
Gara'jal the Spiritbinder
Tips: If possible, take the chance to visit the spirit world right away, if you don't become a Voodoo Doll in the first lot. Save the use of Ascendance until you return to the physical world with your secondary stat and damage boosting buff. However, if you are one of the first players to become a doll, don't save cooldowns until you get to go to the spirit world, as it'll be more beneficial to just use them.
Preferred talents: Although the damage the raid takes in the frenzy part of the fight can potentially get high, the fight is quite short overall and Ancestral Guidance is my choice for a healing talent. It'll be a fast remedy for players that suffer from Voodoo Doll. Stone Bulwark Totem is at its best in encounters like Gara'jal, providing you with minor absorption half the time. Astral Shift gives you powerful protection against damage taken through Voodoo Doll, or late in the encounter.
The Spirit Kings
Tips: If possible, have a druid cast Symbiosis on you. It will give you Solar Beam, which, together with your Wind Shear, makes you an interrupt machine for the two spirit kings that require it: Meng the Demented and Zian of the Endless Shadow.
Use Thunderstorm to knock back the shadowy adds. You can easily participate in killing an Undying Shadow that's fixated on you with the help of Spiritwalker's Grace. Don't use damage-reducing cooldowns during Meng's Maddening Call - although that sudden drop in your health may look alarming, you want to be released through damage.
Preferred talents: There shouldn't really be any major raid-wide damage in this encounter, which is why I go with Ancestral Guidance when it comes to healing talents. This also means that Stone Bulwark Totem may end up being more useful than Astral Shift.
Elegon
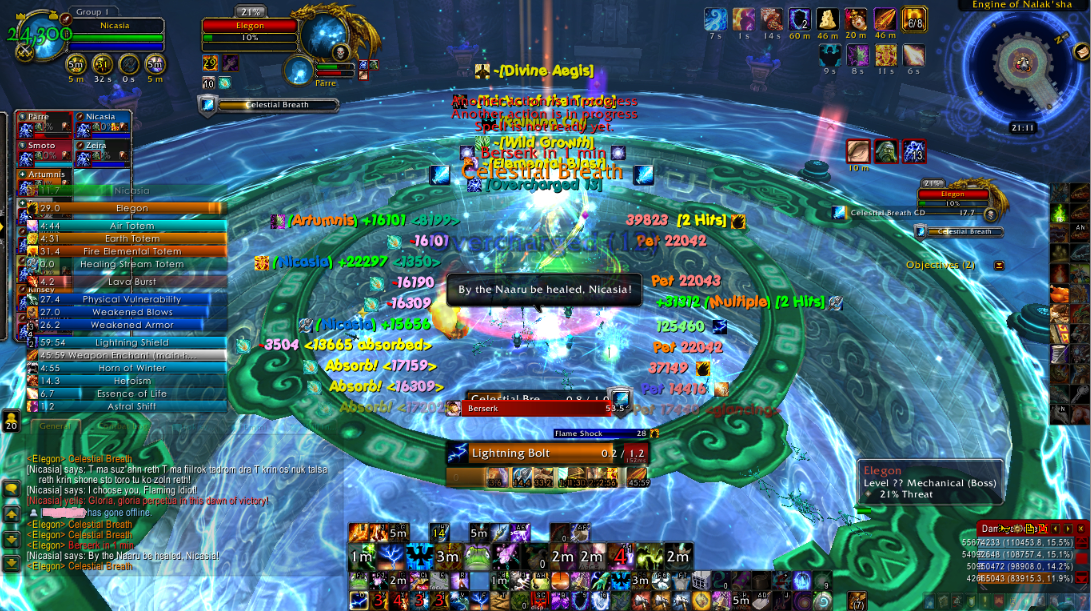 For the first trash before Elegon and Will of the Emperor, a PvP trinket isn't the worst choice - while the magic debuff can just be dispelled, too, but not by elemental shamans, as we can only remove curses. Just remember to swap your trinket back to a PvE one once you are done with the petrifying trash! You can also make use of Windwalk Totem here.
Tips: All ranged DPS should take a moment to find that particular spot on the edge of the celestial zone that allows you to reset your stacks of Overcharged simply by jumping. It's easy to find by first taking a step into the celestial zone, and then a tiny step back... by backpeddling! If you can't find that spot, or you'd rather reset your stacks by moving out and back into the celestial zone, do it while you're casting an instant spell or get a Lava Surge proc.
If you decide/have to reset your Overcharged stacks during the last phase, popping Astral Shift for your visit outside the celestial zone is a good idea, as you're be taking a lot of damage regardless of where you are. Astral Shift can also be a useful talent for soaking the damage of Total Annihilation from a Celestial Protector. Using a cooldown like that is particularly important if you aren't at full health, as it may save your life in those situations. Both Astral Shift and Stone Bulwark Totem are helpful in the last phase of the encounter.
Popping Spiritwalker's Grace as you begin your journey towards your designated Draw Power phase spot is a good idea, as it maximises your DPS on Elegon. Killing the Energy Charges in second phases is quite easy for a bursty spec like elemental. It's essential to keep DPSing the boss while you don't have a charge to kill. Keep your burst spells, like Flame Shock, Lava Burst, Elemental Blast and highly charged Earth Shock mostly off cooldown for the charges. It may save you some close calls.
Preferred talents: I personally go for Astral Shift over Stone Bulwark Totem for this one. The berserk timer doesn't allow much spare time between your offensive attacks, so using a global cooldown for a minor absorption every minute doesn't really help maximise one's damage output. Ancestral Guidance works well in this fight, because you want to be DPSing as much as possible and most of the time, but there can be situations where you can't do enough damage to make Ancestral Guidance useful. So, although the cooldown is one minute longer, I use Healing Tide Totem for Elegon, as there are a lot of moments when the raid takes a ton of damage.
Will of the Emperor
Tips: As with the Stone Guards right at start, have Flame Shock active on as many targets as possible, but particularly Jan-Xi and Qin-Xi. There isn't much time to just DPS the bosses, so those dots will make a good contribution to the damage they receive. Again, while their health pool is shared, you have two individual dots ticking.
Emperor's Rage adds fixate on random targets. Both Frozen Power and Earthgrab Totem are useful talents for slowing and preventing them from getting to their targets. Keep in mind that while Earthgrab Totem replaces Earthbind Totem with an improved version of the totem, you can use Earthbind together with Frozen Power. You should use Thunderstorm to knock them back if they are about to reach their targets, and no other methods are used. Capacitator Totem, together with the Totemic Projection talent, gives you an AoE stun that you can relocate if your targets move out of its range. This, as other means of crowd control, only work on the smallest adds, the Rages, but you can use Earthbind Totem to slow down Emperor's Courages. You may also want to crowd control the Rage adds with Hex at some point, usually towards the end of the encounter.
The best time to use Stormlash Totem in this encounter is during Titan Gas, as this is when melee DPS will likely be damaging the bosses as well, there's little to no target swapping and people get the most out of their DPS rotations. Save Heroism/Bloodlust for the last/fourth Titan Gas phase that you encounter in the fight, and preferably cast Stormlash together with it. Keep in mind that you get to use Stormlash Totem and Fire Elemental Totem twice in this encounter.

Preferred talents: As Titan Gas does relatively high raid-wide damage, I recommend using Healing Tide Totem in this encounter. Both Frozen Power and Earthgrab Totem are useful talents for add control. Totemic Projection allows you to relocate Capacitator Totem to stun any Emperor's Rages within 8 yards of the totem.
Please do let me know, if you feel that something is missing from the list. I'll make sure to add anything new I discover.
No comments:
Post a Comment